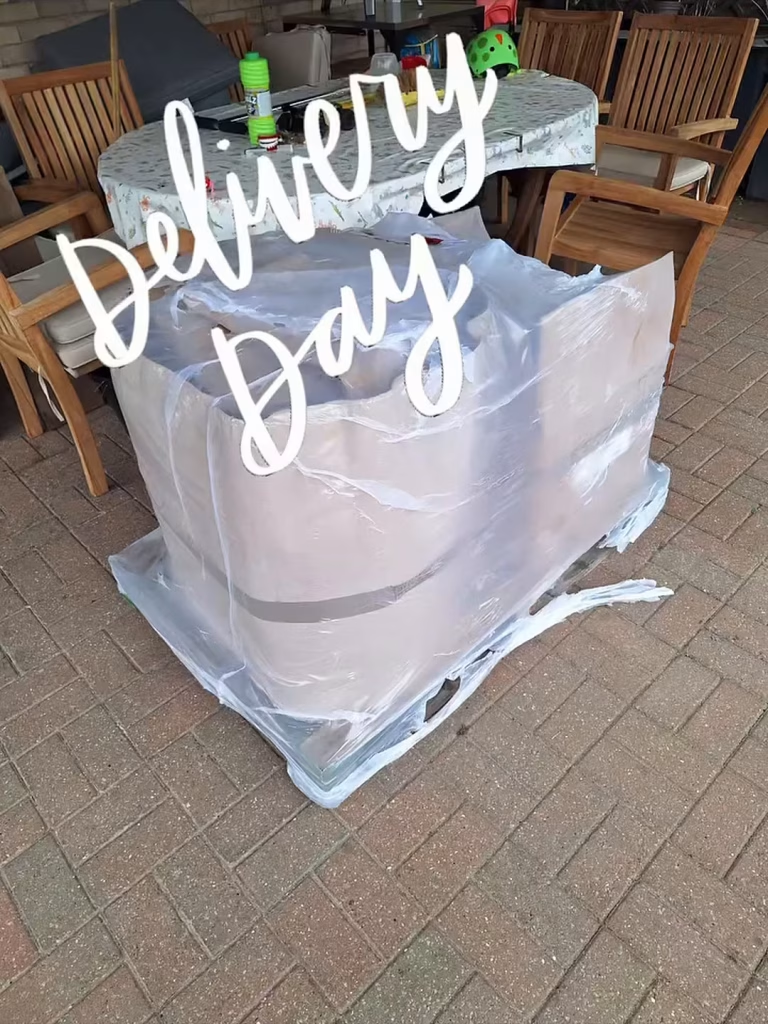
My first ever kiln has arrived. It turned up on a pallet, wrapped in enough plastic to survive a flood, and I just stood and stared at it for a good minute before I did anything useful.
Delivery day! Somewhere under all that is a kiln.
Meet the new arrival
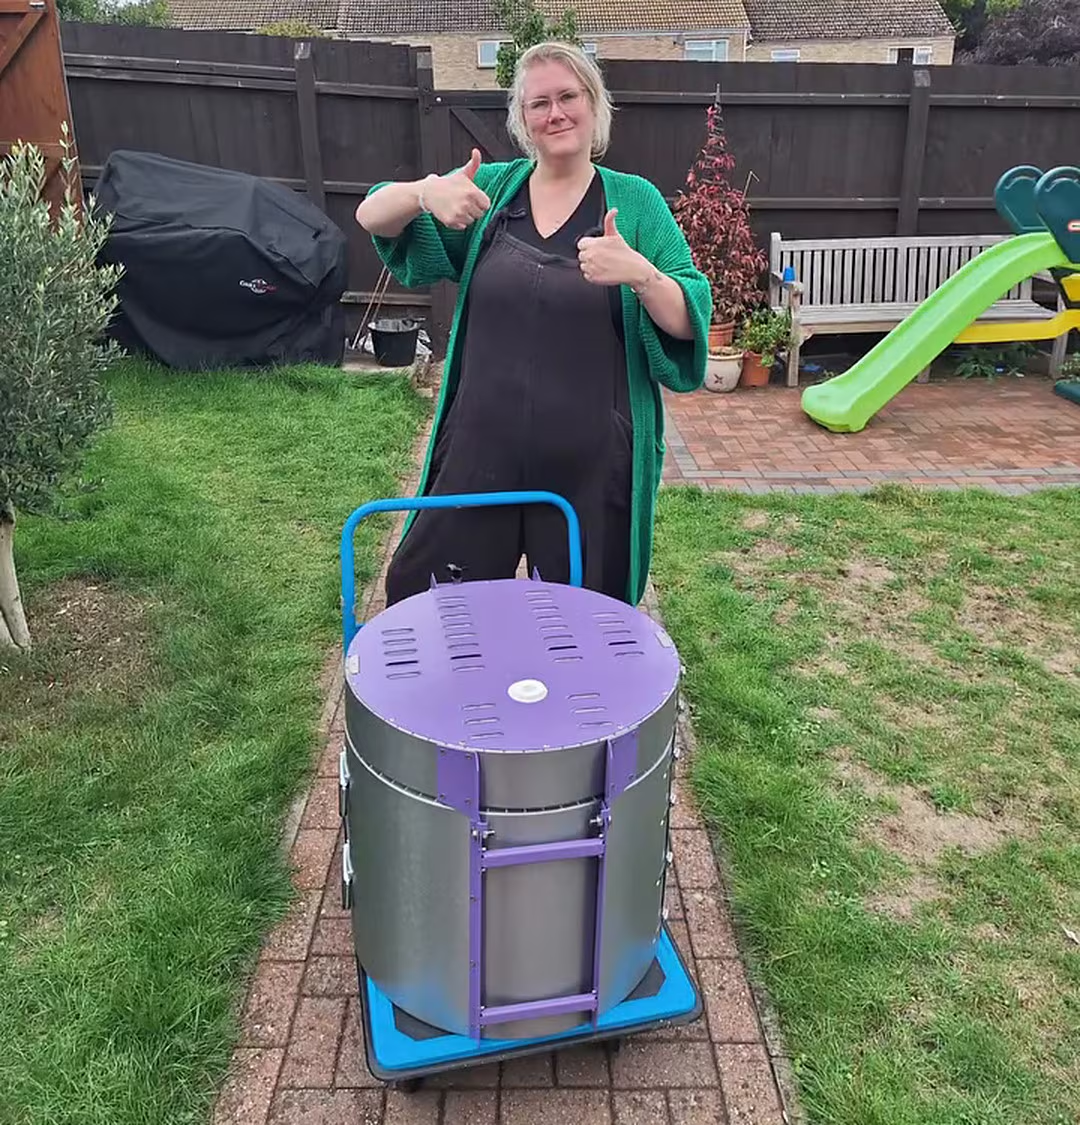
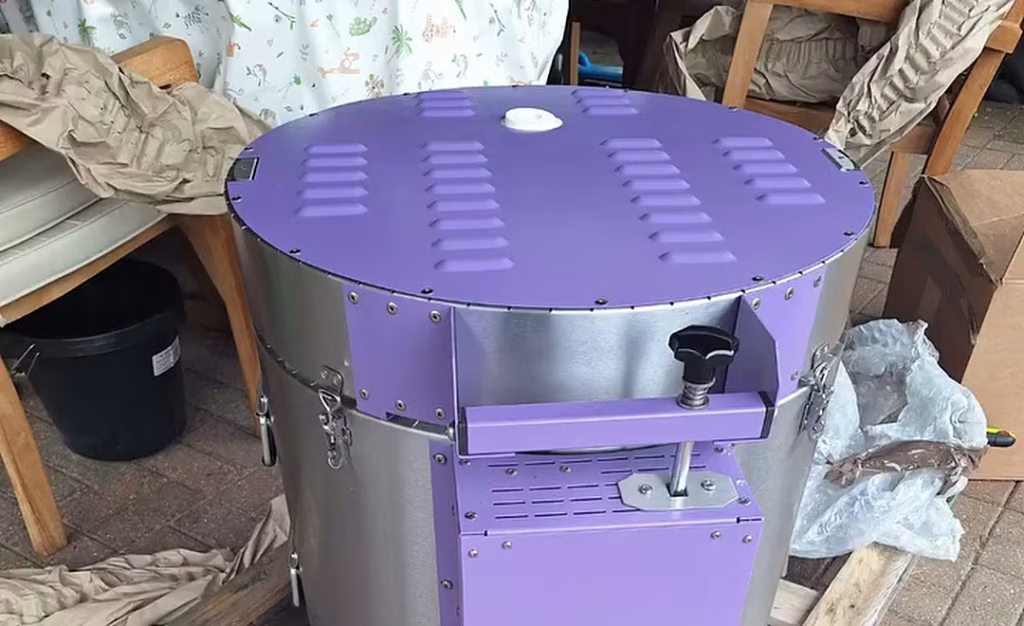
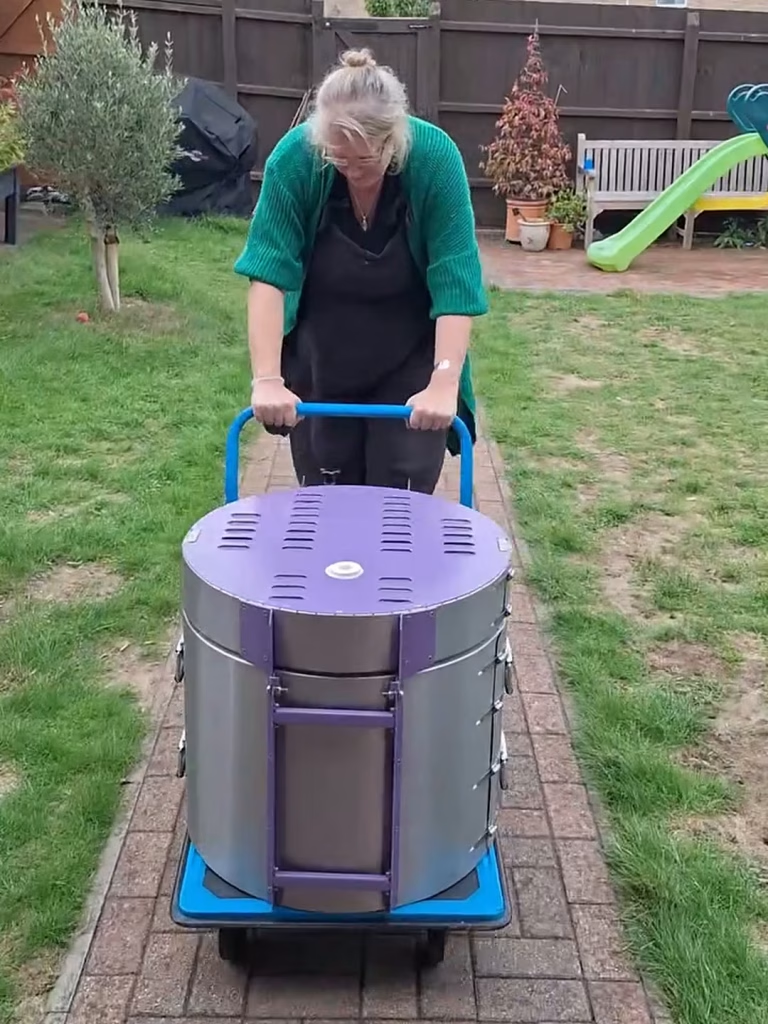
She’s a Cromartie H46, a top-loading electric kiln all the way from Stoke-on-Trent. And she’s purple! I couldn’t have picked better myself.
Unwrapped, and purple!
She fires up to around 1300°C, plugs into an ordinary socket, and has a clever wifi controller so I can check on a firing from my phone. I’ll almost certainly still hover.
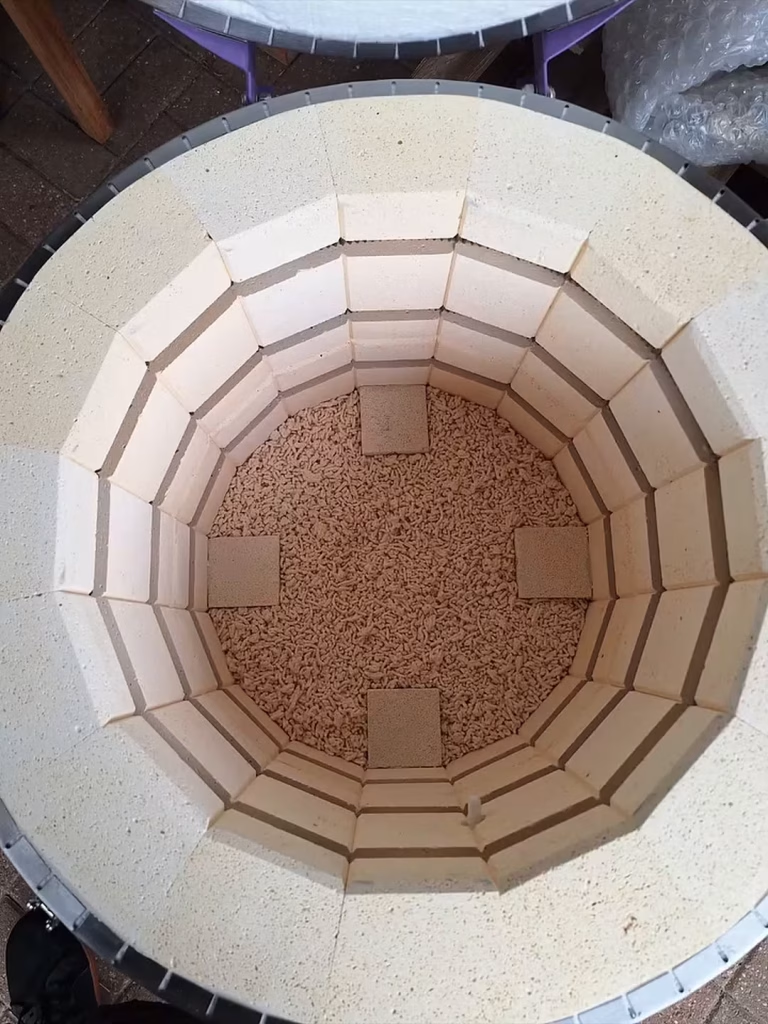
Empty for now. Not for long!
What it means for the monsters
Having my own kiln at home means I can fire far more often. More makes, more glaze experiments, and more little friends heading your way. Making my dreams come true ✨
The slow walk across the garden. Nobody breathe!
Every day’s a school day
I’ll be honest, I’ve never had a kiln of my own before, so this is a whole new adventure. There’s a lot to learn about how she likes to behave, and I’m sure there’ll be a few surprises along the way!
First in will be a fresh batch of Mini Monster Moods as a test run, along with some new glazes I’ve been dying to try. Fingers and toes crossed, and a little prayer to the kiln gods.
Thank you to everyone who has ordered, liked, shared and cheered me on. You’re giving this girl her dream.
On Saturday 18 July I did something I’ve wanted to try for ages: my very first raku firing, on a course hosted by the lovely lot at Claire’s House Pottery in Bury St Edmunds. You might remember them from the spring ceramics market. This time there was no table of monsters. Just a very hot kiln, a bin of sawdust and three little makes of mine with everything to lose!
The firing day, and the making of Prudence and Daphne a fortnight before — over on Instagram.
What is raku firing?
Raku started in Japan hundreds of years ago, and it’s about as far from a normal, patient kiln firing as you can get.
The pieces are made and bisque fired as usual, then glazed. But instead of a slow firing that takes most of a day, the raku kiln races up to around 1,000°C. Then, while everything is still red hot, each piece is lifted out with long tongs and put straight into a bin of sawdust and paper, and the lid goes on.
That last part is called reduction, and it’s where the magic happens. The burning sawdust pulls the oxygen out of the glaze, so copper turns to flashes of shiny metal, colours shift from teal to burgundy to burnt orange, and any bare clay goes a deep smoky black. It’s also why raku needs its own gritty clay, which can take the shock without cracking.
Nobody gets to choose exactly what comes out. The flames, the smoke and the timing decide, which is either thrilling or terrifying depending on how attached you are to what went in.
Praying to the raku fire gods
I was quite attached! A couple of weeks before, I hand built my pieces from raku clay so they had time to dry and have their bisque fire. Two were Funguys who turned out to be rather elegant ladies, the sort who really enjoy a cuppa tea, in the fine china, in the garden. The third was a little horned chap who was either a fire god or a demon. I still haven’t decided.
He went into the fire first, and everything survived.
My fancy lady mushrooms survived and came out looking magnificent, and I’m sure that’s all down to my little fire demon going first.
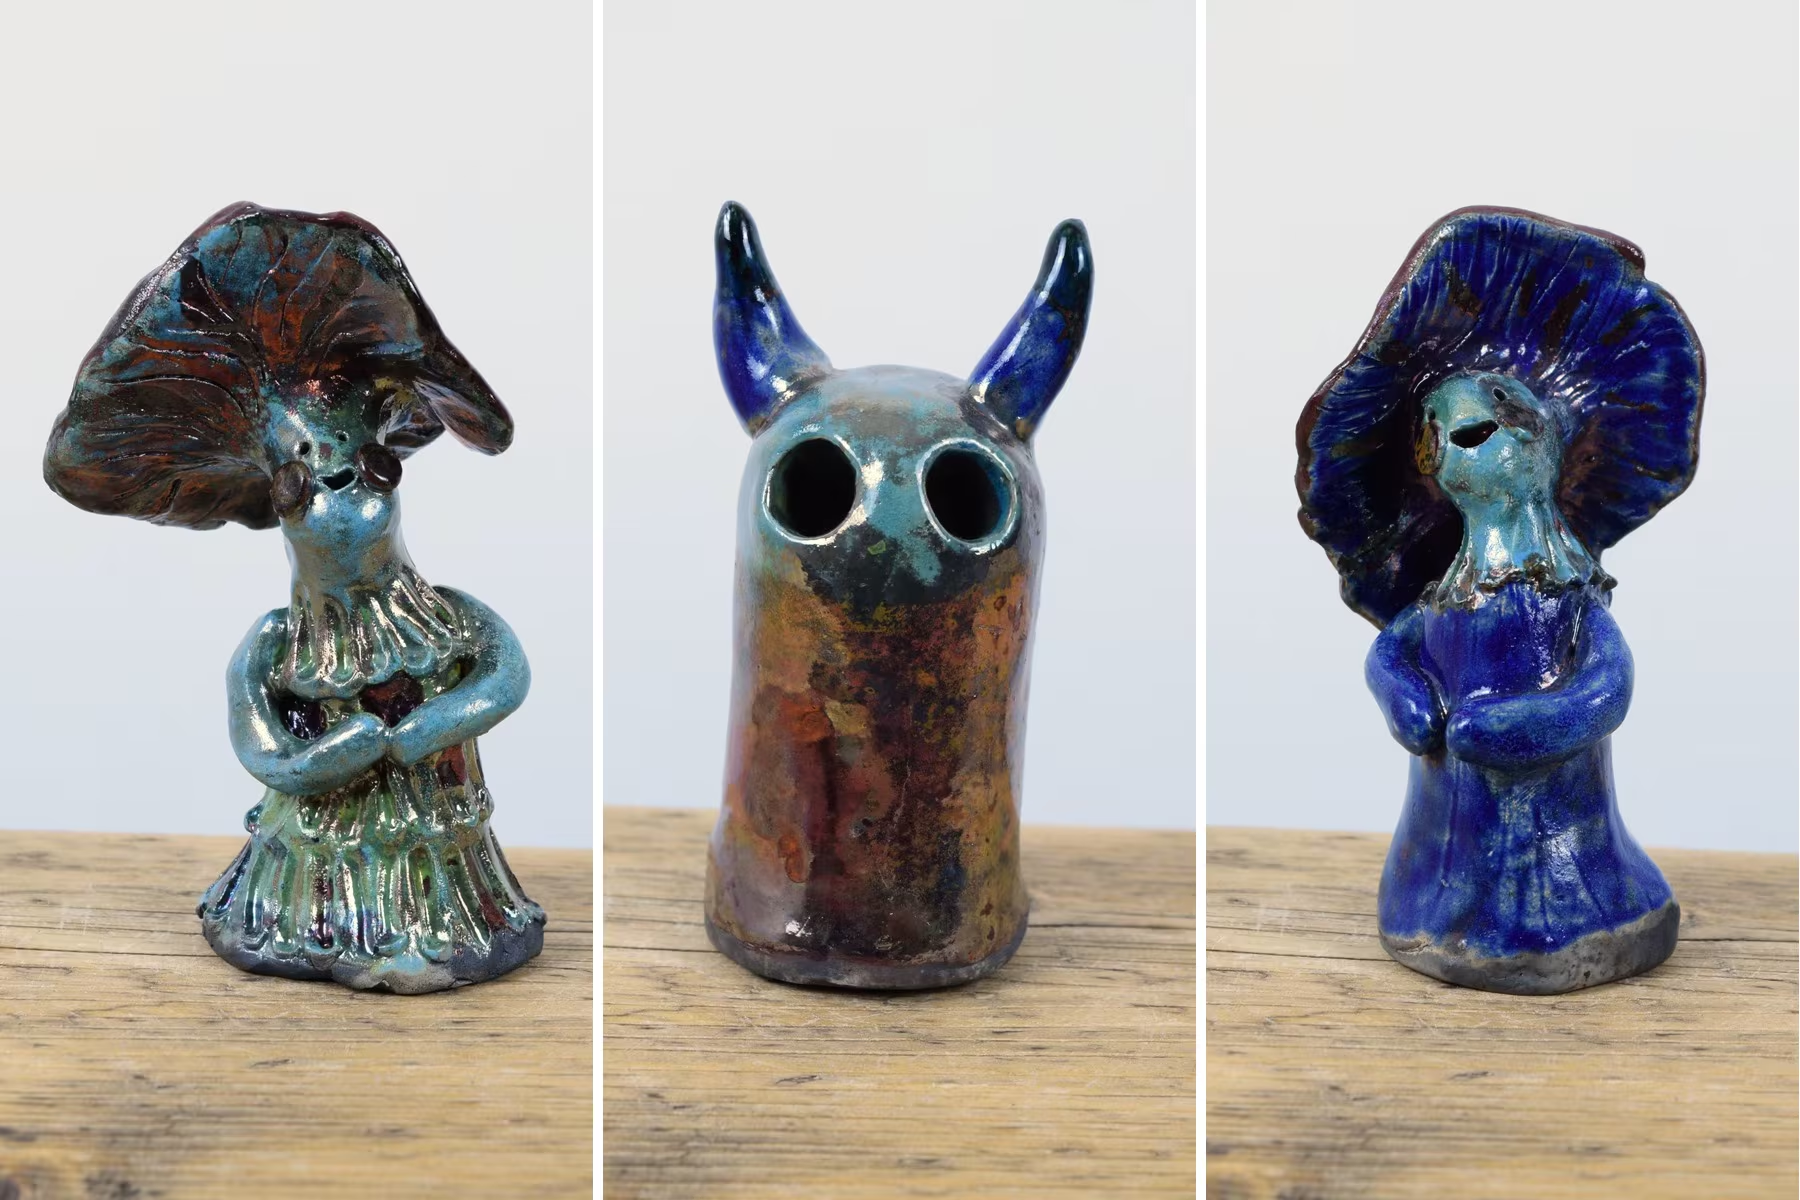
Meet the three who came home
All three are now in the shop. Like everything I make they’re one of a kind, and with raku that’s doubly true. I couldn’t repeat these if I tried.
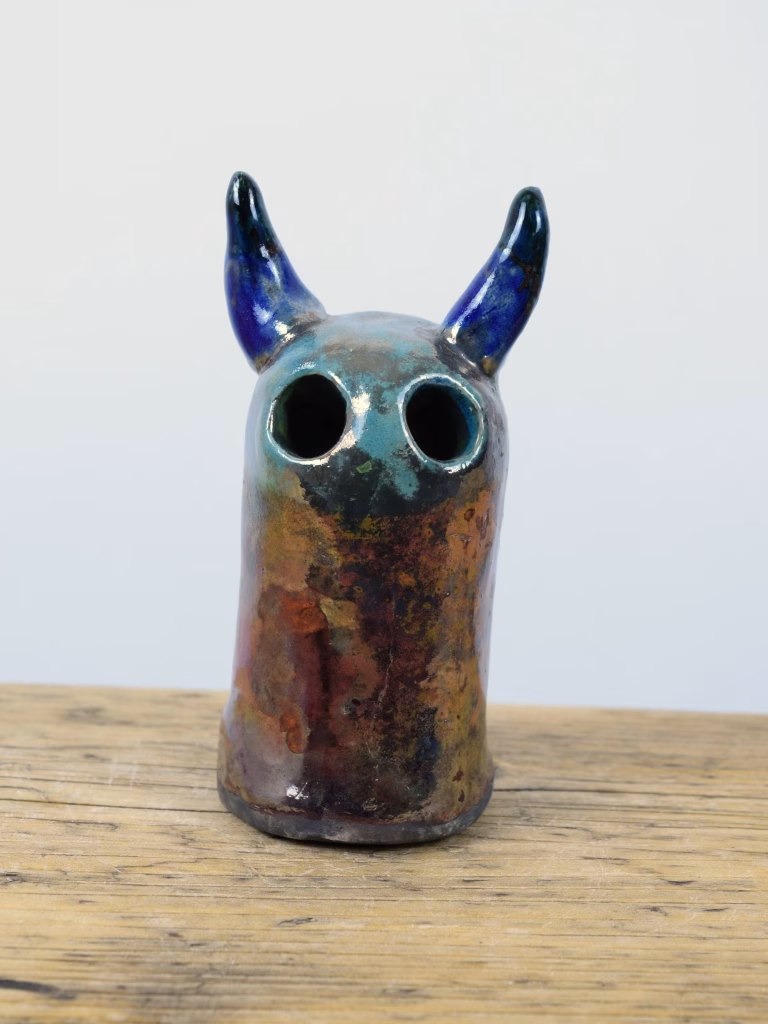
The Raku Fire Demon has two glossy blue horns above a scorched, mottled body of teal, cobalt, burnt orange and dark copper. He’s small enough for a shelf and looks very pleased with himself for going first.
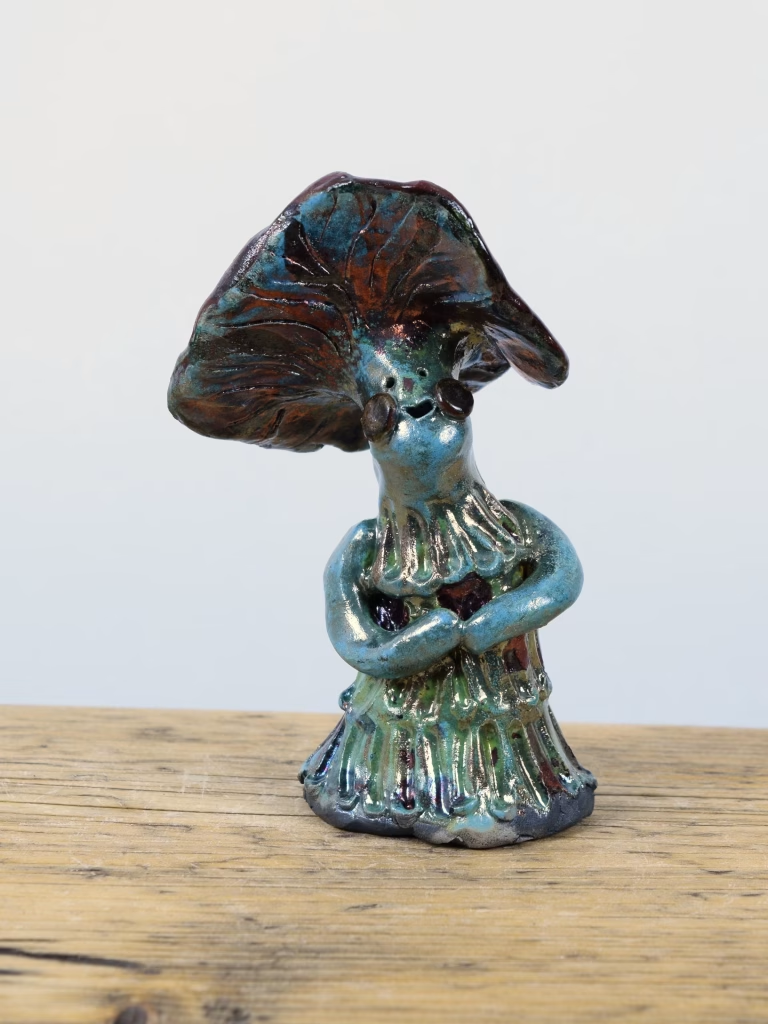
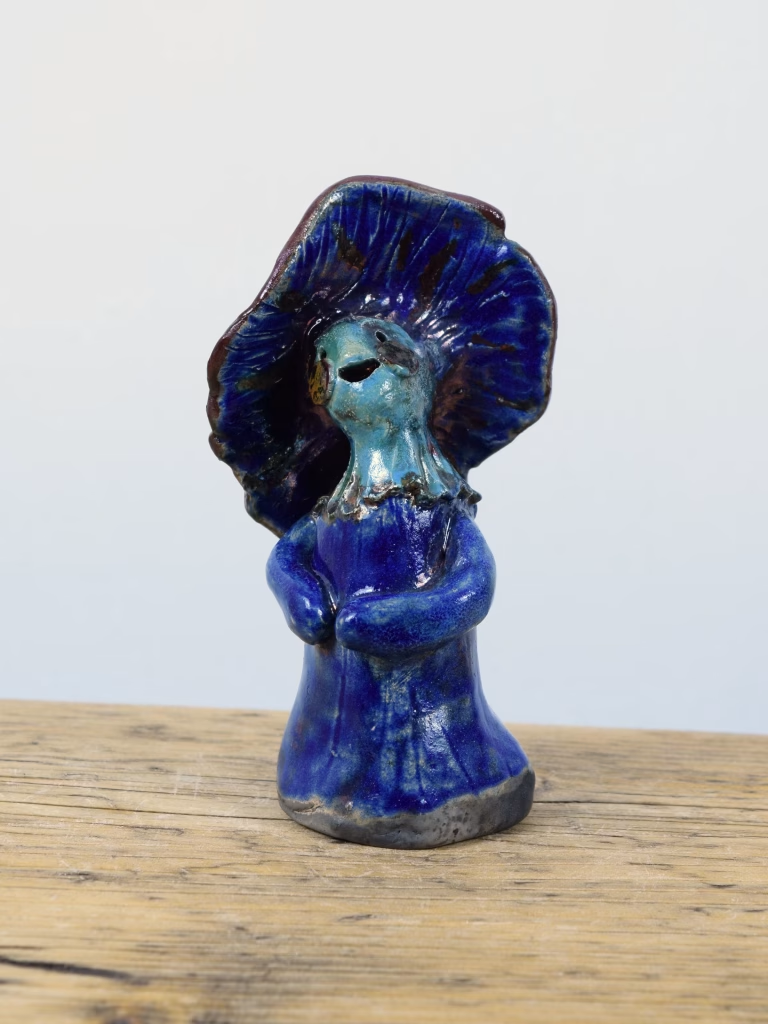
Prudence stands with her arms folded and her cap tipped to one side, in teal, copper and dark burgundy that change as the light moves across her.
Daphne is the blue one, with a wide cap of deep cobalt running into purple-brown at the rim and a shimmer of metal over the top. You can find the rest of her family in the Funguys.
Looking after a raku piece
Raku is fired cooler than my usual stoneware, so the clay stays a little porous. That means these three are for looking at, not for food or drink, and they won’t hold water. Keep them indoors and dry, give them a dust with a soft cloth, and they’ll sit on a shelf looking magnificent for years.
A huge thank you to Claire’s House Pottery for hosting the course. I came away buzzing and I’d love to do it again! If one of these three has caught your eye, don’t dawdle.
There’s a particular kind of mess that takes over the studio when the monsters are in the make. Little limbs queued up on a board. Pairs of eyes drying on a tile. A row of round bellies, each one waiting for a face. It’s chaos, but the good sort.
So I thought I’d show you how these little guys come to be. The short answer: very slowly, and almost entirely with my fingers.
How a lump of clay grows a face
Every monster starts as a pinched, hollow body, built up in my hands a bit at a time. The belly has to be hollow or it would crack in the kiln, so the trapped air needs a tiny escape hatch. Sometimes that’s a mouth, sometimes a nostril, sometimes a cheeky little belly button.
Then the personality starts arriving. Ears get pinched and pressed on. Feet are rolled and given toes one at a time. Eyes are made separately and pushed home, and that’s the moment the monster suddenly looks at you. I love discovering who they are as I go.
Then come two trips through the fire, once for bisque and once for glaze, and the glaze is where the real surprises happen. I never quite know which monster’s going to come out looking smug, startled or delighted with itself. Fingers and toes crossed every time!
No two ever come out the same. They couldn’t if I tried.
A smaller drop than I’d planned
Now for the slightly bittersweet bit. The monsters have been a hit at the local markets these last few weeks. Far more found new homes than I’d dared hope, which means fewer have made it back to the studio shelf for the website drop.
I’d rather tell you straight than quietly put a smaller drop online and hope nobody notices. Every one is hand-built and one of a kind, so the next batch will look related but never the same.
If one catches your eye when the shop opens, don’t dawdle! And if your favourite slips away, there are more in the makings. I’ll let you know when the next batch lands.
Put a lump of clay in my hand on a quiet afternoon and I’ll probably forget the rest of the day exists. It warms to your skin, takes the print of your thumb, and politely refuses to be rushed.
The wheel is wonderful, no argument. But almost everything I make at Henroo is built another way, with my hands and a lot of patience. So here’s a little love letter to handbuilding.
Three ways to grow a pot from a lump of clay
Handbuilding isn’t really one technique. It’s a little family of them, and I often use more than one in the same make.
Pinch. Press your thumbs into a ball of clay, then turn and squeeze until the walls thin out. It’s the one I reach for when I’m making small, round things with personality. The monsters are pinch pots underneath all the eyes and ears.
Coil. Roll the clay into long ropes and stack them, smoothing each one into the next. Coiling lets you build taller and curvier than a pinch will allow.
Slab. Roll the clay flat, cut shapes out of it like pastry, and join them up. That’s how you get crisp edges and flat sides.
You can’t bully clay into the shape you want. It’ll let you know when it’s ready and when it isn’t.
Why slow, and why by hand
A handbuilt piece often takes days. Build a bit, wait for it to firm up, build a bit more, wait again. Then it has to dry right out before it goes anywhere near the kiln, and it’s fired twice before it’s finished.
I love that pace. Pottery is meant to be slow and gentle in so many ways. Every make carries the marks of the hands that made it: a fingerprint here, a wobble there that turns out to be exactly the right wobble.
My first ever mug is wonky, totally imperfect in every way, and I love it! My first handbuilt animal was a cat. I wasn’t expecting him to survive the bisque fire, but he did, and he’s sat on my kitchen window sill making me smile ever since.
It also means no two ever come out quite the same, which for me is the whole point.
If you’d like to see where it all ends up, the shop has the latest makes, and Instagram is where I share the wonky in-progress bits. Have you ever had a go with clay?